Saturday, August 16, 2014

Perler Bead fun

The past couple of weeks I have been working on scrapping photos from our Disney trip more and more often I have found myself wishing for a certain embellishment, those fun little enamel dots.  Not something I would normally use, but for some reason I have been loving that little extra pop of color on my Disney pages.  Not having an endless supply of enamel dots or an unlimited budget to purchase them, I turned to a project I have been wanting to do for awhile.  DIY enamel dots!  Perler beads and an oven-easy right?

I know this has been done by others before me, but I have been wanting to try this forever and what better time than when hubby is out of town and perler beads are on sale at the local craft shop.  Supplies needed: Perler beads (I got a great multi pack at Joann's), Parchment paper, oven.  I would recommend using a toaster oven, I used a little craft oven from a thrift shop I use for polymer clay, but you can use your oven if you don't have a toaster oven-I just recommend cleaning it after using it for enamel dots.

Line your baking sheet with parchment paper and line up your perler beads with the holes facing up


 Bake at 350, mine took about 20 minutes, some of the darker ones took a bit longer.


Halfway through, you can see the holes filling in.

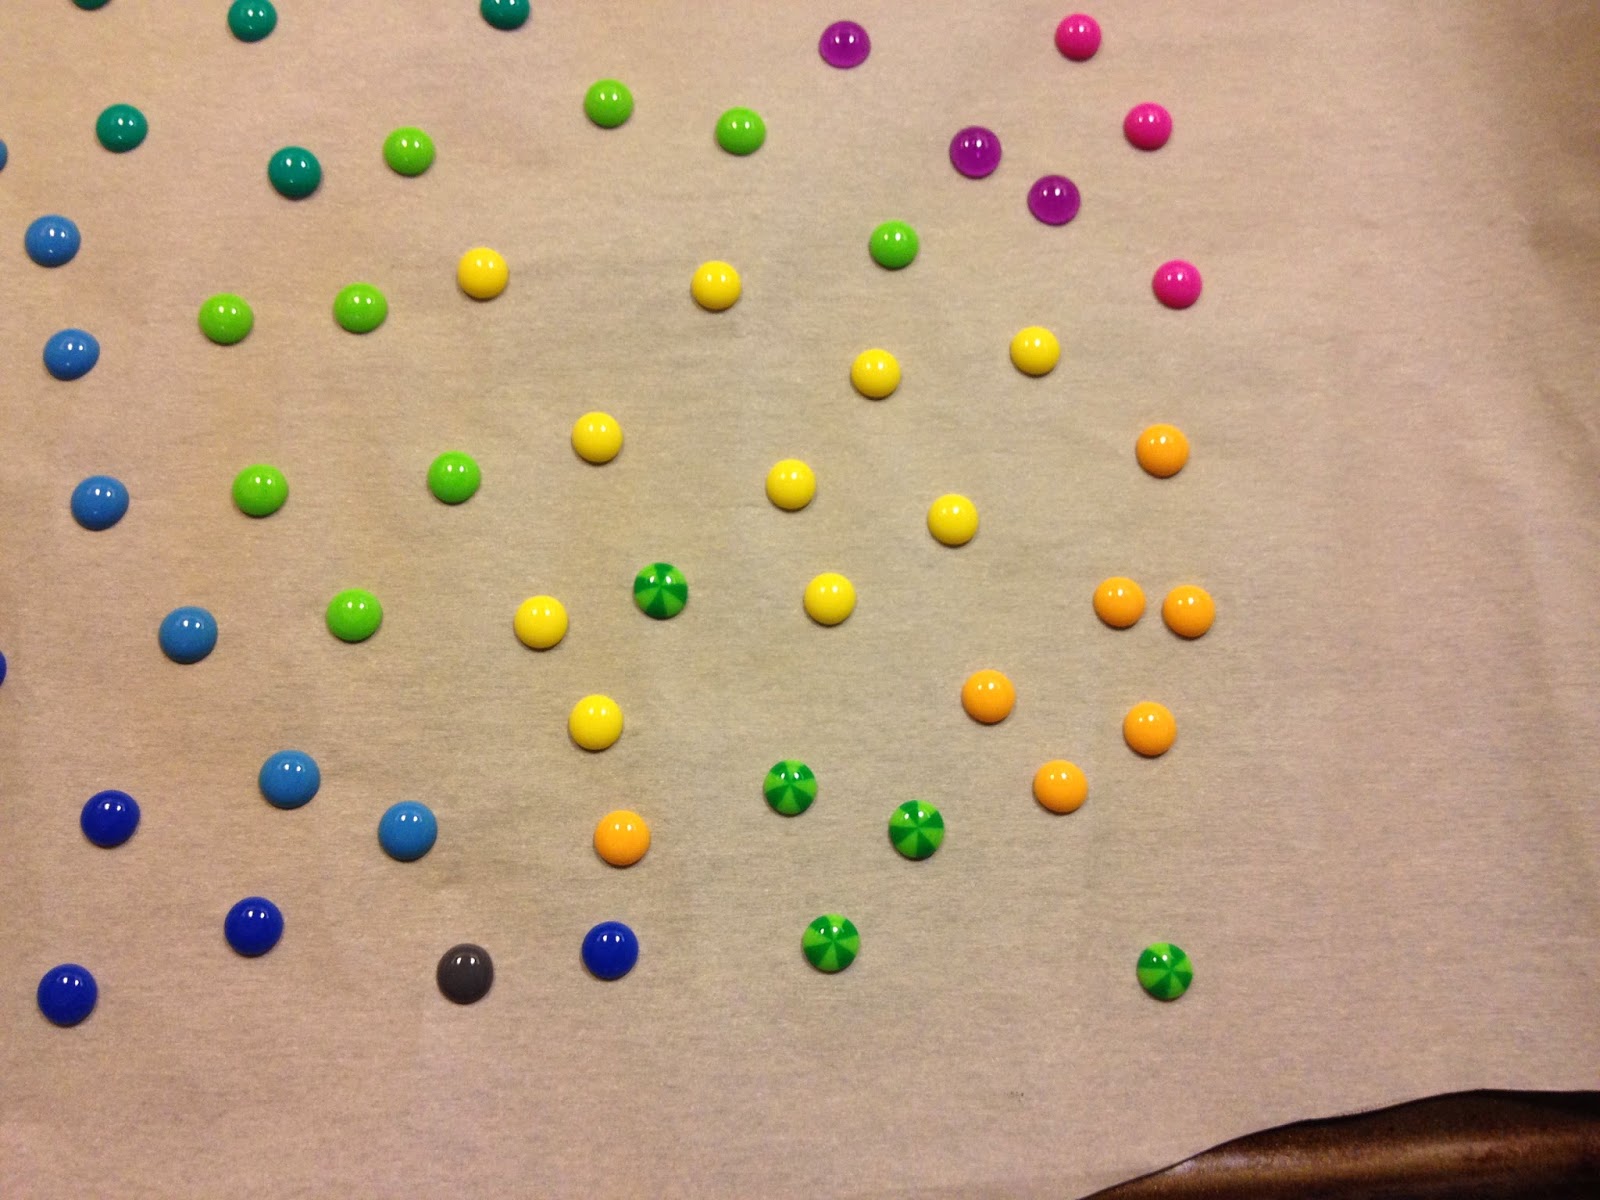
Done!  They turned out so cute, and I love that the striped perler beads look like little beach balls.


Beautiful colors and they look so similar to the ones I have already in my stash.  So excited to try this with pony beads for a larger enamel dot.  

I don't use bright colors in my pages very often, so most of the enamels in my collection are neutrals and more darker colors, but I have been using a lot of brights lately, I love that I now can make almost any color I need!


I like the little pop of color they add to pages, and the variety of colors available make it easy to find the right color for your project.


Thanks for stopping by!

Sunday, August 3, 2014

Through fire

I've always been a huge fan of Harry Potter, I listen to the audio books at work quite often, a great way to pass the time and I can easily jump back in if I miss anything.  The other day I was listening to Chamber of Secrets and there was a quote that struck me particularly hard:

"It is our choices, Harry, that show what we truly are, far more than our abilities"~Albus Dumbledore

I've always found that quote inspiring, and I thought it would be perfect for a bit of inspiration for my room.  For those not familiar with the series, Dumbledore has a pet phoenix, a mythical creature that burst into flames when it is time to die and they are reborn from the ashes.  Once I had a starting point the rest came fairly easily.


I started by making a phoenix out of white polymer clay and painting it with acrylic paints.  I really wanted him to shimmer so I used my stash of radiant pearl paints to give him some sparkle.  Because  radiant pearls don't dry on non porous surfaces I embossed it with clear embossing powder.


The background was a lot of fun to work with, I used pages from an old copy of  Deathly Hallows adhered down with mod podge, On top of that I used modeling paste and a prima mask to give it a bit of texture.  I added some upholstery underlining spritzed with Lindy's and Dylusions, however in my hurry to dry it I found it melts with a heat gun.  And I loved it, so once I had it adhered down I zapped it with my heat tool.


Overall I'm thrilled with how this turned out and it is perfect for the Potter nerd in me!