Showing posts with label Tutorials. Show all posts

Saturday, August 16, 2014

Perler Bead fun

The past couple of weeks I have been working on scrapping photos from our Disney trip more and more often I have found myself wishing for a certain embellishment, those fun little enamel dots.  Not something I would normally use, but for some reason I have been loving that little extra pop of color on my Disney pages.  Not having an endless supply of enamel dots or an unlimited budget to purchase them, I turned to a project I have been wanting to do for awhile.  DIY enamel dots!  Perler beads and an oven-easy right?

I know this has been done by others before me, but I have been wanting to try this forever and what better time than when hubby is out of town and perler beads are on sale at the local craft shop.  Supplies needed: Perler beads (I got a great multi pack at Joann's), Parchment paper, oven.  I would recommend using a toaster oven, I used a little craft oven from a thrift shop I use for polymer clay, but you can use your oven if you don't have a toaster oven-I just recommend cleaning it after using it for enamel dots.

Line your baking sheet with parchment paper and line up your perler beads with the holes facing up


 Bake at 350, mine took about 20 minutes, some of the darker ones took a bit longer.


Halfway through, you can see the holes filling in.
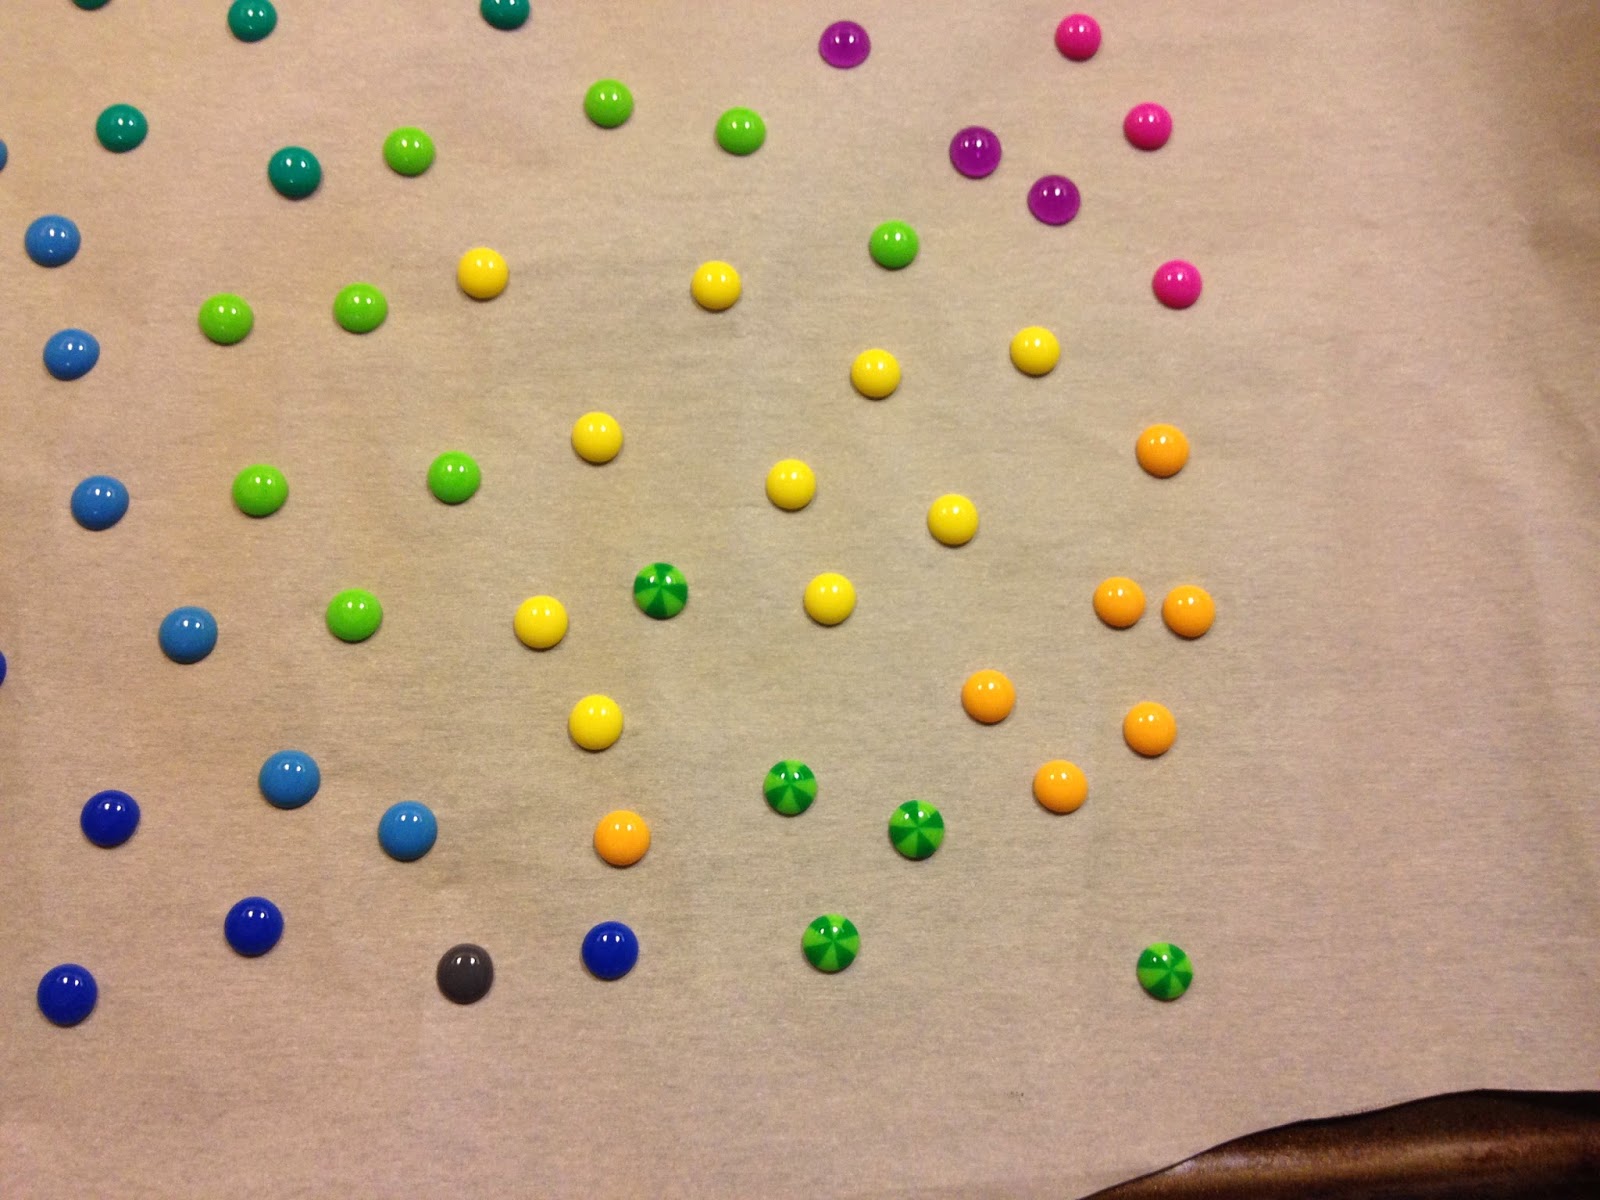
Done!  They turned out so cute, and I love that the striped perler beads look like little beach balls.


Beautiful colors and they look so similar to the ones I have already in my stash.  So excited to try this with pony beads for a larger enamel dot.  

I don't use bright colors in my pages very often, so most of the enamels in my collection are neutrals and more darker colors, but I have been using a lot of brights lately, I love that I now can make almost any color I need!


I like the little pop of color they add to pages, and the variety of colors available make it easy to find the right color for your project.


Thanks for stopping by!

Monday, April 14, 2014

I believe

Happy Monday!  I wanted to share a little project I've been working on lately, I have been wanting to do an altered canvas for ages and when I came across this little 5x7 canvas while cleaning my room I obviously stopped cleaning and started playing!

The original idea I had included masking and modeling paste only to discover my modeling paste was all but dried out!  So instead I pulled out my palette knife and spread some of the drying paste over my blank canvas for some texture.

I hadn't really settled on a theme yet so color schemes were a bit up in the air but in the end I opted for my fall back, golds, greens and blues.  I raided my tattered angels stash and used Medallion, Kiwi, Caper Green and Verdigris glimmer mists across the entire canvas, tilting it around to cause running and pools.  I let those sit and dry up before, repeating until I was happy, then I went around the edges with Dirty Martini glimmer glam.  

 To frame it a bit more I used a dark green faber castell gelato and used my finger to blend it in.  To add a bit more texture and add some shimmer I mixed some gold pigment powder into soft gel and used it over a damask stencil from Prima.  I really wanted to give it a shimmer so once the soft gel was mostly dry I used some dry pigment powder and rubbed it onto the soft gel.

To lighten it up a bit I went back over with my favorite bubble wrap and some white acrylic paint.  


I was so excited about how this was turning out that I really started worrying about, as my husband puts it, how I was 'going to land this bird safely'. Which in a round about way helped me come up with a theme.

I broke into our tissue paper stash looking for a nice 'earthy' tissue to use and found the tissue that came in the box for my husband's Keens and inked it up with the tree stencil from The Crafter's Workshop.


The texture and thickness of the tissue was perfect, and if you look closely you can still see the Keen logo from the backside.  But this became a cute little dress but I wasn't sure how to get this onto my canvas, was it hanging, being worn-end the end I decided it should be on a dress form.


I used the Tim Holtz movers and shapers dress form and the wings from his Heart Wings die on chipboard.  I was only interested in the top and bottom of the dress form since the dress would cover up the rest of it.


The dress form pieces were embossed using vintage photo embossing powder and inked over with black soot to give it the aged look and the wings were dabbed with gold acrylic to add some texture.  I used teal and green perfect pearls to pounce on some shimmer and edged them in Viva's Inka Gold Graphite.

I finished it up with a few leaves from a Prima vine and an embossed metal butterfly from Graphic 45 and I was able to sit back and let it take flight!


Do you believe?

Thursday, May 17, 2012

Better late than never

This past Christmas my husband gave me a kindle Fire to help support my reading habit-which is only outshone by my scrapping habit!  We were leaving on vacation a few weeks after Christmas and during that time I searched high and low for a cover that I loved, something that was functional yet still aesthetically pleasing.  Amazon had very few choices, the ones I could afford being very dull and lacking anything interesting, and the ones I loved were just way too many pennies for my liking. 

So I opted for the DIY route.  It took me a bit of planning to figure it out, but I absolutely love the outcome!  It held up during all our travels and still looks in excellent shape!  And all for under $5.00!

I purchased my book in the clearance section of Half Price books for a whole dollar I looked for one that was roughly a quarter inch taller and half an inch wider than my kindle.  When I got home I cut the innards out of my book using my craft knife and tucked them away to use on scrappy pages in the future.


Once my book cover was naked I covered the entire thing in the foam sheets, both inside and outside.  I also covered the inner and outer spine.  To allow for easy closing I cut my foam into different sections, one each for the spine and back and front covers.  So I ended up with 6 pieces for the inside and outside.  I adhered these down with fabri-tac and let sit.

The outer cover was made using a fat quarter from my fabric stash, when the glue was dry I laid my book open flat on my fabric square and trimmed that down so it was roughly 2 inches larger than my book on all sides.  I used my mad book covering skills from high school to create a cover for the outside of my book which I then glued down to prevent it from slipping around. 

Prior to lining the cover with felt I added ribbons for a closure, two on each side.  The end of each ribbon was sealed with a match to prevent unraveling.  I measured roughly and inch and a half in from the top and bottom. 


On the right side of my cover I laid my kindle out to check sizing and where the elastic loops would go.  I marked the foam approximately where the elastic would go.  I cut for pieces of elastic and wrapped them around the corner of my kindle.  This gave me the rough size of the loop.  Since I was using elastic, and to give myself a snug hold I cut the elastic the exact size of the kindle and sewed the two ends together.  I then adhered a loop of elastic to each corner using fabri-tac.

I measured the inside of my cover to get the dimension of the felt and cut it into one large piece.  I cut slits in the felt where the loops would come through and pulled them through before adhering the felt down. And voila!  A lovely padded kindle cover! 

The outside was decorated with a peacock feather from Michaels-the largest investment of the project.  I used the same ribbon from my closure but this time I glued a piece of brown ribbon to the back of it to give it a bit more structure.  The charms were from a tag destroyed by my puppy which I added to a Tim Holtz memo pin and stuck into my foam padding.


Lobster taking a break on deck with the kindle

Supplies needed:
Hard cover book-roughly the size of your e-reader
Foam sheets
A fat quarter of fabric
Felt
1/4" elastic
Fabri-tac
Ribbons
Scissors
craft knife
Thread and needle


Tuesday, January 24, 2012

Flight of Ideas

I sat down in my room last night with the full intention of working on Coby's wedding album-the one I supposedly gave him for Christmas. Only to get distracted by the shiny package of Que Sara Sara die cuts by K&Company-and I ended up with a new page instead. Kudos to Coby for helping with the title!
It was so much fun creating this page, as I was working poppies kept coming to mind so I made this cute little poppy flower that I have a tutorial for to share with you.
Supplies needed:
Distress Inks (I used Ripe Persimmon, Vintage Photo and Mustard Seed)
Mother's Day Bouquet Cricut Cart (Flowers 3 and 34)
Marvy Uchida 8 petal flower punch
Patterned Paper or Cardstock
Adhesive

You will need 7 petals for each flower. Start by cutting out two of Flower 3 the same size and cut them into sections inking the edges-for this flower I used 1.5" flowers and Ripe Persimmon to ink the edges.


Cut a small snip in the bottom of each petal, roll each petal to give it some curl and glue one tab over the other.


Adhere the petals to a scrap circle of cardstock. I drew marks on the scrap to somewhat evenly space the petals. Next cut two of Flower 34, I cut one each from brown and yellow paper at 3/4". From the yellow also punch one 8 petal flower. Curl up the edges of the flowers and adhere them together off setting the petals slightly.

Thanks for stopping by!

Tuesday, January 10, 2012

A tutorial to kick things off!

I've had some people ask me about the flowers I used on my altered composition notebook made for a secret sister swap over at scrapbook.com so I wanted to share a tutorial on these little favorites of mine.


Things you will need:
  • -Tim Holtz Tattered Florals die
  • -heavier weight Patterend paper or cardstock
  • -Tim Holtz Damask Texture Fade
  • -Brads, crystals or bling for the centers
  • -Distress Inks
  • -Adhesive of your choice
  • -stylus or something similar
  • -fine tip scissors

Start by cutting out your flowers from your cardstock.

  • For large flowers cut 2-3 medium and 1-2 small flowers
  • For small flowers cut 2-3 small flowers
Ink the edges of all flowers using distressed ink

Run your inked flowers through your embossing machine using the folder of your choice. Re-ink some of the edges and the embossing to give the flowers a bit of dimension.

Using a stylus begin rolling the petals, hold the stylus in the middle of a petal and roll the two edges up to create a valley. Then roll each edge down a bit to give it a psuedo 'M' shape. Bend the petals up towards the center of the flower. Do this to all flowers. *Be careful when bending the petals as the embossing can cause the paper to tear

Stack the medium flowers on top of each other off-setting the petals adhering as you go. Do the same with the small flowers and glue your centers. Re-fluff any petals, here is a photo of a finished flower!
Thanks for stopping by!