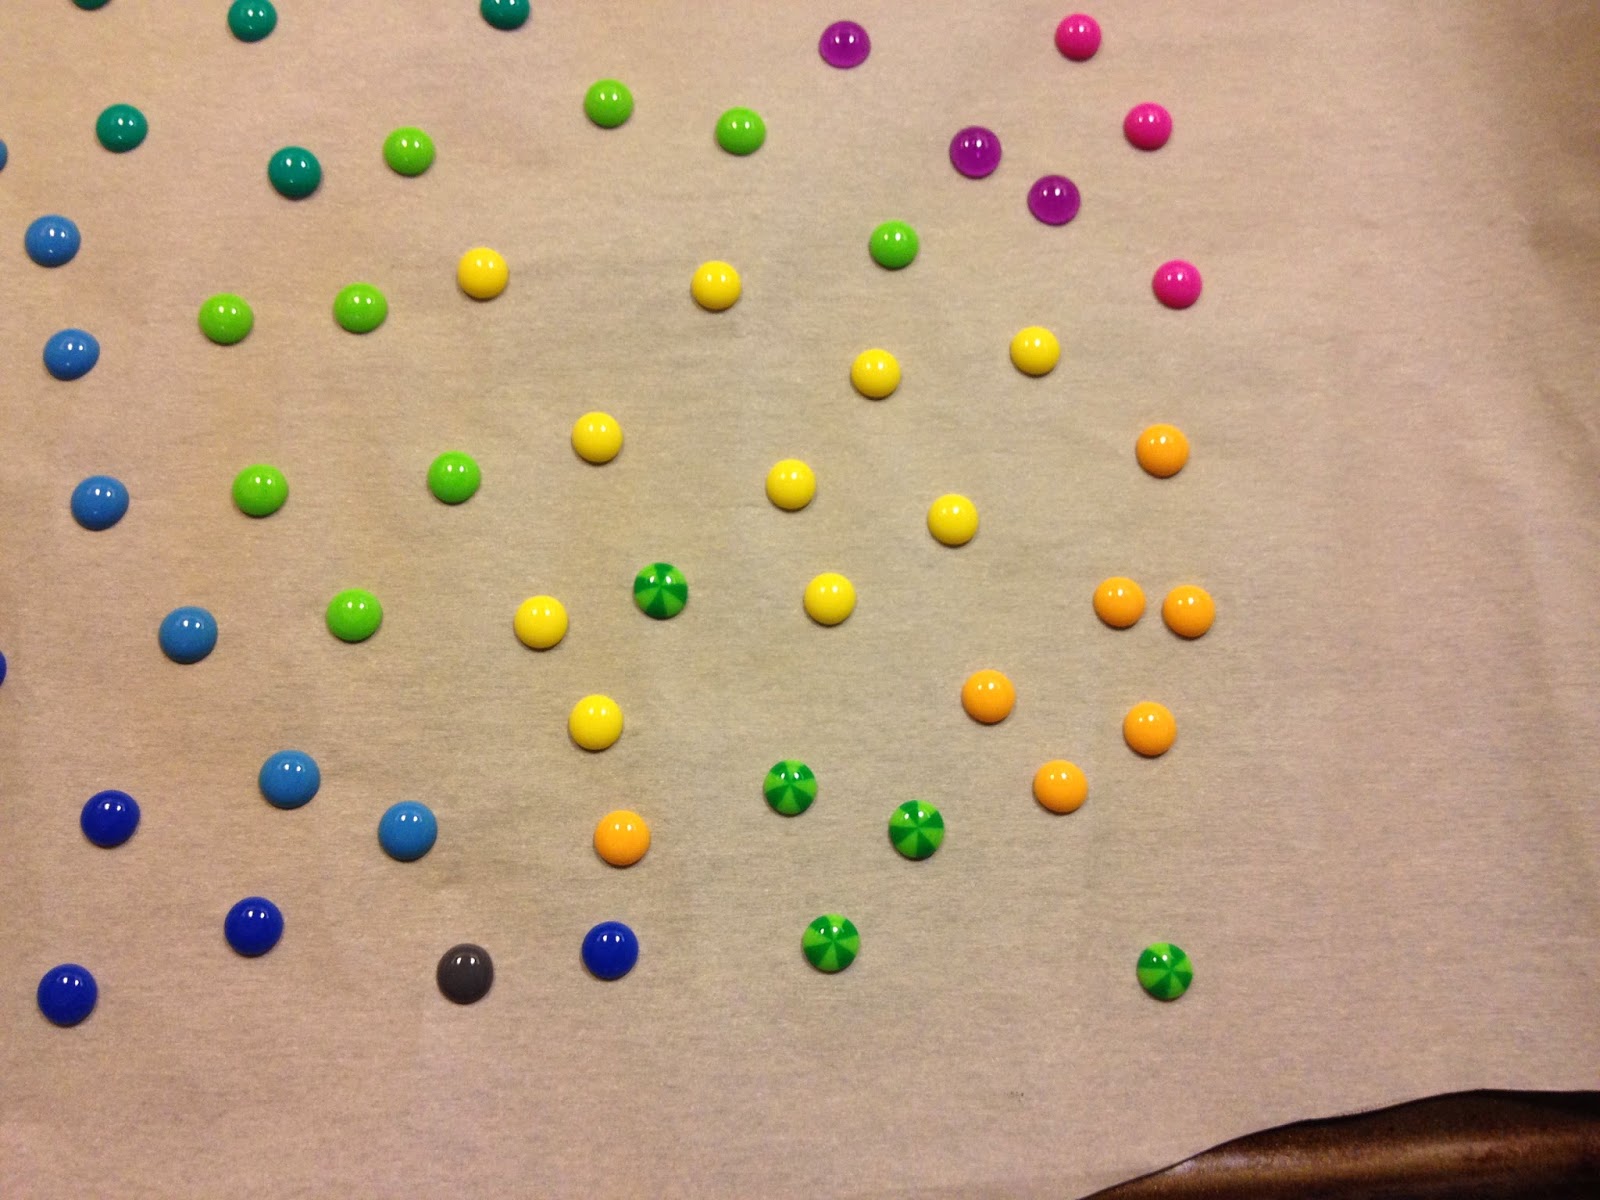
The past couple of weeks I have been working on scrapping photos from our Disney trip more and more often I have found myself wishing for a certain embellishment, those fun little enamel dots. Not something I would normally use, but for some reason I have been loving that little extra pop of color on my Disney pages. Not having an endless supply of enamel dots or an unlimited budget to purchase them, I turned to a project I have been wanting to do for awhile. DIY enamel dots! Perler beads and an oven-easy right?
Line your baking sheet with parchment paper and line up your perler beads with the holes facing up
Bake at 350, mine took about 20 minutes, some of the darker ones took a bit longer.
Halfway through, you can see the holes filling in.
Done! They turned out so cute, and I love that the striped perler beads look like little beach balls.
Beautiful colors and they look so similar to the ones I have already in my stash. So excited to try this with pony beads for a larger enamel dot.
I don't use bright colors in my pages very often, so most of the enamels in my collection are neutrals and more darker colors, but I have been using a lot of brights lately, I love that I now can make almost any color I need!
I like the little pop of color they add to pages, and the variety of colors available make it easy to find the right color for your project.
Thanks for stopping by!


WOW SOOO COOL
ReplyDeleteLove this! I have seen it done before, but thank you for the step by step and showing the striped bead, too. LOVE IT!!.
ReplyDelete