Monday, December 29, 2014

All is Bright

I have always loved the Lindy's Stamp Gang monthly color challenges, but for whatever reason I found that the month would just slip away from me before I could finish anything for the challenge.  But after seeing this month's colors I knew I had to find time for it.  It is just such a happy combination.  I have been waiting for a sunny day to come around to get the best photos, but unfortunately we haven't seen the sun here in the last 15 days and I'm running out of December to get these up.

I used Rudolph's Nose Red, Hydrangea Blue, Delphinium Turquoise and a moon glow starburst spray, Wild Honeysuckle from ages ago, it has one of the original labels on it.  


I used some of my favorite Christmas wash tapes to create a collage after spritzing my background, and a vellum tag for the title.  I just loved the subtlety of the snowflakes and how they added a little texture to the page.


Keep your fingers crossed we get some sunshine here so I can get a better photo..eww!


Thursday, November 20, 2014

Live Life Dancing Through the Rain

Last week we had the most amazing rainstorm here, and I just love being outside in the rain.  Well most rains.  This was the last rain of before temperatures dropped and we got our first 6 inches of snow.  It was so peaceful watching it rain from my studio window.  It also reminded me of a phrase I read on a piece of patterned paper from My Minds Eye, so with all that inspiration I pulled out my art journal and got started.

I realized while I was working on my background that I didn't have any mists that were the right shade of blue for the whole page so I used my gelatos and a baby wipe.  I did spray first using a darker blue but the baby wipe blended a lot of the drops with the gelatos.

The figure is a stenciled image done in black acrylic paint-I don't actually own this stencil, I borrowed it at a friends house and used it a few times on a piece of vellum.  I fussy cut this one out for my journal.  It was adhered down with softgel and then outlined using a white signo pen.  


I used homemade texture paste but before I removed the stencil I spritzed with Mister Huey's in Seafoam.  


I stamped with bubble wrap and gesso before splattering the whole page with watered down silver acrylic paint.  I pulled out my rusty cursive for the title and highlighted that with a glitter pen. 

The perfect rainy day project!     

Sunday, November 9, 2014

Crooked Beauty

Hi friends, can you believe how fast November is going already??  Yes I know it is only the 7th, but I got an email from my boss yesterday, thoughtful as ever...

Thanksgiving
20 days
Christmas Day
48 days
New Year Day
55 days
Talk about a slight panic attack!  I haven't even started Christmas gifts yet!  So naturally instead of buckling down last night and coming up with some clever gift ideas I had to retreat to my studio for some fun.  I was sick for most of this week so the only crafty thing I did was lounge on the couch and watch youtube videos.  Yesterday was the first day I felt somewhat normal again so I worked on another spread in my art journal.  

I had started the background at crafty day last weekend and didn't like where it was going, but last night it all kind of fell into place and I grew to love it.


This turned out to be a fun page to do, I had a chance to play with mica flakes and watercolors as well as some pigments to mixed with softgel.

I used a flocked Prima rub, just too bad it ended up going on crooked-that's what an art journal is for though.  


I loved these little birds but the chipboard was thicker than what I wanted in my journal, so I used a brush to dampen the back of them and peeled off one layer at a time until they were thin enough.

Sunday, November 2, 2014

Oh Pussycat...

I mentioned last week that I wanted to honor one of my favorite characters from one of my favorite shows.  She's beautiful, charming, witty and a bit odd-and the top on a long list of characters I wanted to be for Halloween.  So this year I whipped out my sewing machine and 12 yards of fabric to pay homage to one Lily Munster...


Le sigh....just gorgeous!  


I just loved making this, long drappy sleeves and flowy fabric, a little scary to work on at first, I couldn't find a pattern I liked so I made one up, which gave me a chance to make myself some great sleeves!


I just love how it floats-so much fun to wear it.  


I just hope I did her justice...and thanks to my sister for the photo shoot!


Thursday, October 30, 2014

Seasonal fun

Good afternoon my lovelies!  Fall has lasted so long here in Minnesota, and outside the window of my craft studio I'm seeing our beautiful little maple in all its fall splendor.  My husband even brought me a beautiful leaf he found.  What perfect inspiration for a new project!  I happened to find a pack of 5x7 canvas boards sitting on a shelf at the local craft store-that was all I needed to get going!  That and some Halloween fun...

Love these crazy ladies and their antics!

Over the next few hours I had a great time letting these panels evolve.  And there really is nothing like getting your fingers inky!

All four panels, they will eventually be mounted to matting of some sort and framed, either like this or in a square-thoughts on that?

Spring-lots of light greens and yellows with a touch of pink for those fun spring flowers that we love seeing

Summer, the bright rich greens with a dash of yellow for those dandelions that I secretly love!  


Fall, with its beautiful rich colors, it really is my favorite time of year.


And finally winter...while there are no leaves on most trees during the winter this is probably my favorite of the panels, I love the coolness of it and the glimpses of the pattern paper that can be seen through the gesso.

 Here are a few close ups of  a couple to give you an idea of the texture and colors.  I just love the mottled look of the leaves.


Thanks so much for stopping by-and happy early Halloween!

Tuesday, October 28, 2014

Dreaming

With Halloween just around the corner, I've been busy working on my costume, it is mostly finished and I adore how it has turned out!  Photos to come on that after Friday!  In the meantime something I've been working on when I haven't been sewing...

I love unexpected twists, when I began this spread in my journal I had something else in mind completely but as I was adding my layers the page took itself in a whole different direction.  The colors and stars ended up giving the page a very dream like quality so I just kind of went with it.


The photo had a very sharp edge to it, and I wanted to blend it in a bit more to the background.  I had some light tissue paper that I had intended on using as clouds on the page, however when I used gel medium to adhere them down they were kind of lost on the page and I couldn't really see them, so I used them at the bottom of the photo to soften the edge.


The stars were done using a Memory Box stencil and some homemade texture paste-I just love how the mists pool around the texture. 


The last detail was to add a few butterflies from BoBunny's Gabrielle collection, the colors were perfect for this page and I really love how they add to the dreamy feel of the page.  They were outlined in a grey gelato to give them a bit of pop, I loaded up my brush to give them a nice water color look.

Next up...a tribute to one of my favorite characters from one of my favorites shows!

Wednesday, October 8, 2014

In the fall

"Life starts all over again when it gets crisp in the fall"~ F Scott Fitzgerald

I'm not one to spend much time reading magazines, but I was flipping through a copy of Glamour at the hospital last week and I came across this quote from F Scott Fitzgerald, and I fell in love with it.  There wasn't much that was able to take my mind off of where we were, so I spent time imagining how I would use this quote.  I tried envisioning on layouts, or maybe a card, but in the end I decided on a spread in my art journal. I have to admit I'm addicted!


The background was covered in distress stains in various colors and then misted with a combination of sprays, mainly Lindy's Stamp Gang.  

Before I created the background layer though, I adhered a few skeleton leaves down using mod podge and gave the whole substrate two coats of gesso.  I also stamped the text in black archival ink before colors were layered on.  I'm not a huge fan of how the stamping turned out, I think I'd have rather used torn pages from a book.  

I used a Dylusions mask and some homemade modeling paste to create the vines and then colored over them with Lindy's Magicals, Distress Markets and Luminart paints.  The skeleton leaves also had some layers of magicals and luminart added for some shimmer.


The leaf is a leftover from the wreath I made, I had a big empty spot and thought it might fill the space nicely.  Before I adhered the leaf down I stamped with a piece of craft foam that had been heated and pressed into a leaf embossing folder.  I stamped with distress ink and clear embossed it for texture.  Once the leaf was adhered down with soft gel I went around the edges with Inkagold in bronze.

Here is the full spread again, I just love how turned out, even with the stamping! 


Keep an eye out for two new journal pages coming up over the next week-until then thanks for stopping by!

Tuesday, October 7, 2014

An Adventure

Ever have one of those times that, for one reason or another, you aren't able to get crafty for a few days?  Never any fun.  Last week my dad was in the hospital for heart surgery, so there were limited opportunities to scrapbook.  So what else is there to do-but come up with an adventure!

This Renaissance Festival season I found a new little treasure, I'd like to introduce Winifred the Spider, and she was my creative outlet, and stress relief in the hospital.


While I'm working on finishing up a few projects come follow along on Instagram as Winifred (#adveturesofwinifred) and I (@annieschriever) run amok the month of October together!  Remember only 25 days to Halloween!

Tuesday, September 30, 2014

New toys!

As many may already know Tim Holtz recently announced his new spray inks that are making their way into stores now, and in true Tim fashion he had a giveaway, which was just a bonus-I was just thrilled that he had sprays coming out.  I love sprays and I love the distress line, which makes distress sprays an absolute must have for my collection.  Of course I had to leave a comment and test much luck, but more so express my excitement.  Imagine my surprise when I found my name on the list of winners!


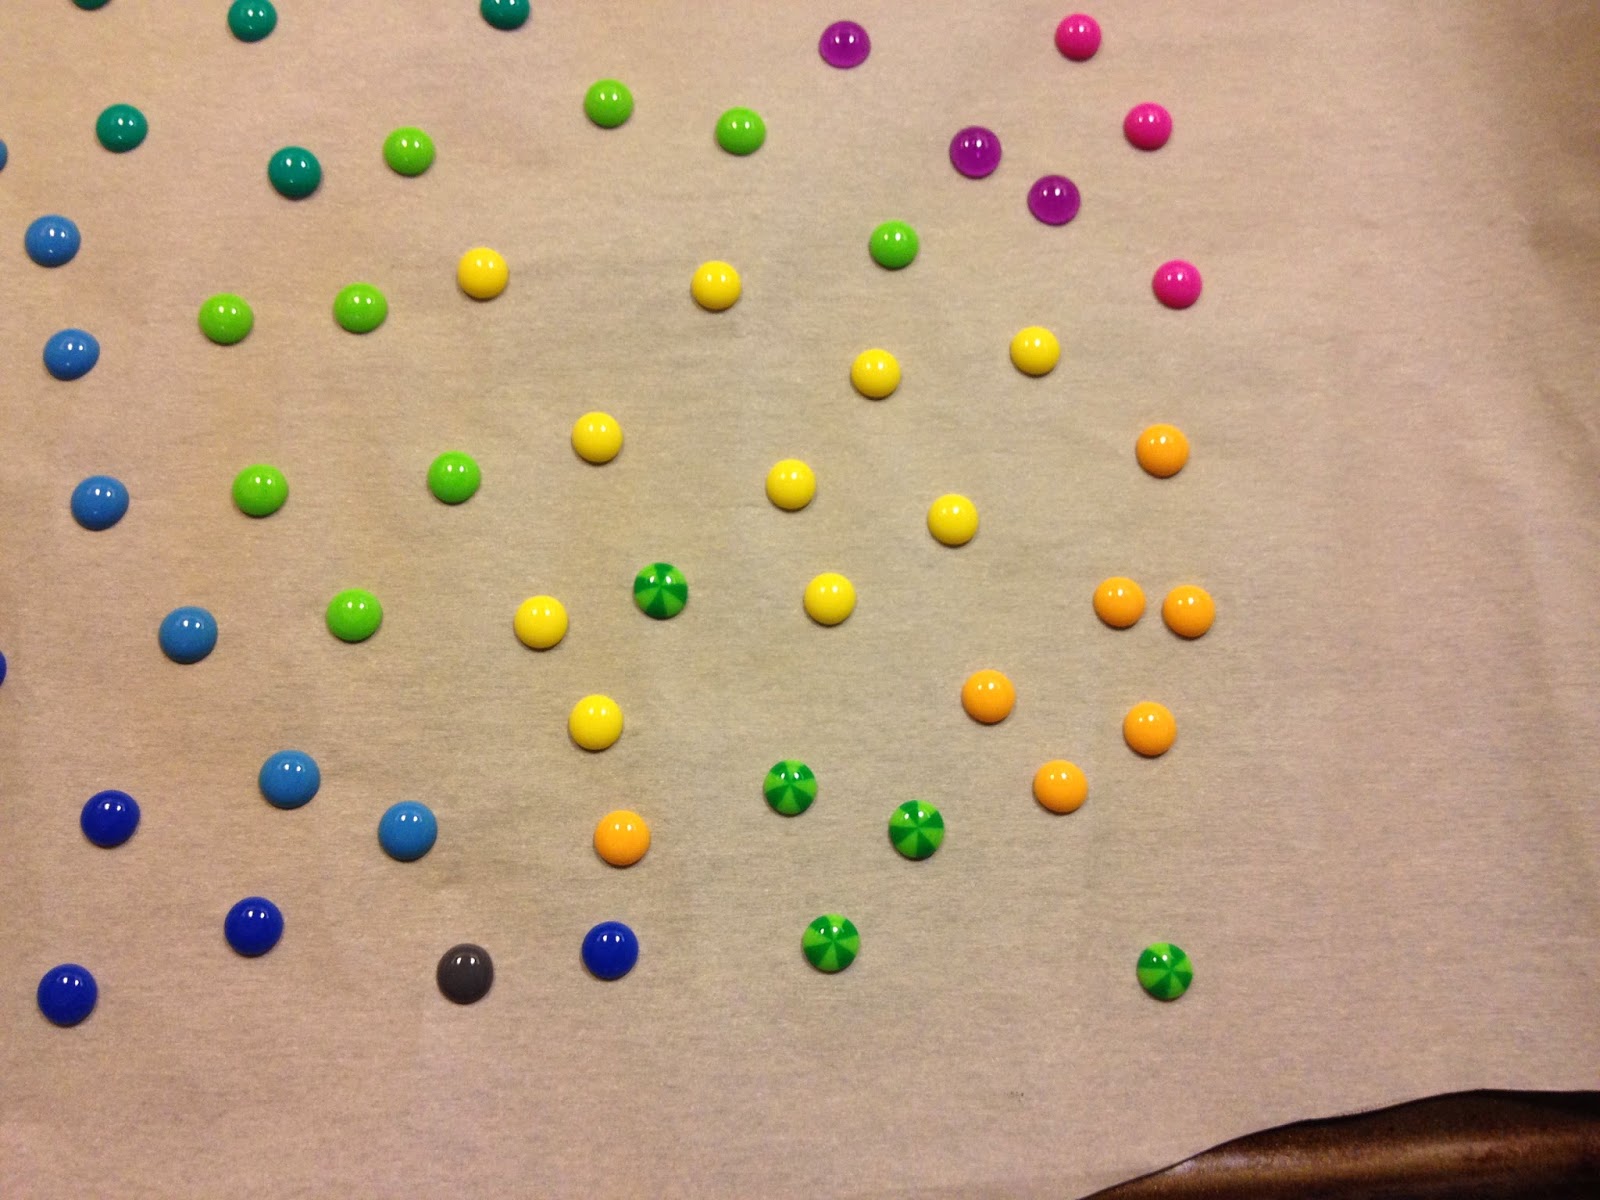
A week later here comes a lovely package from Mario with four shinny new spray inks!  The packaging even had a little bonus inside.  


Love the tissue wrap and scattering of number tokens!  At this point it was all I could do to keep from tearing apart, but I wanted to keep the tissue paper for a future project.


A few of my absolute favorite colors, Tarnished Brass, Peacock Feathers, Crushed Olive and Rusty Hinge~Bless you Mario!!!

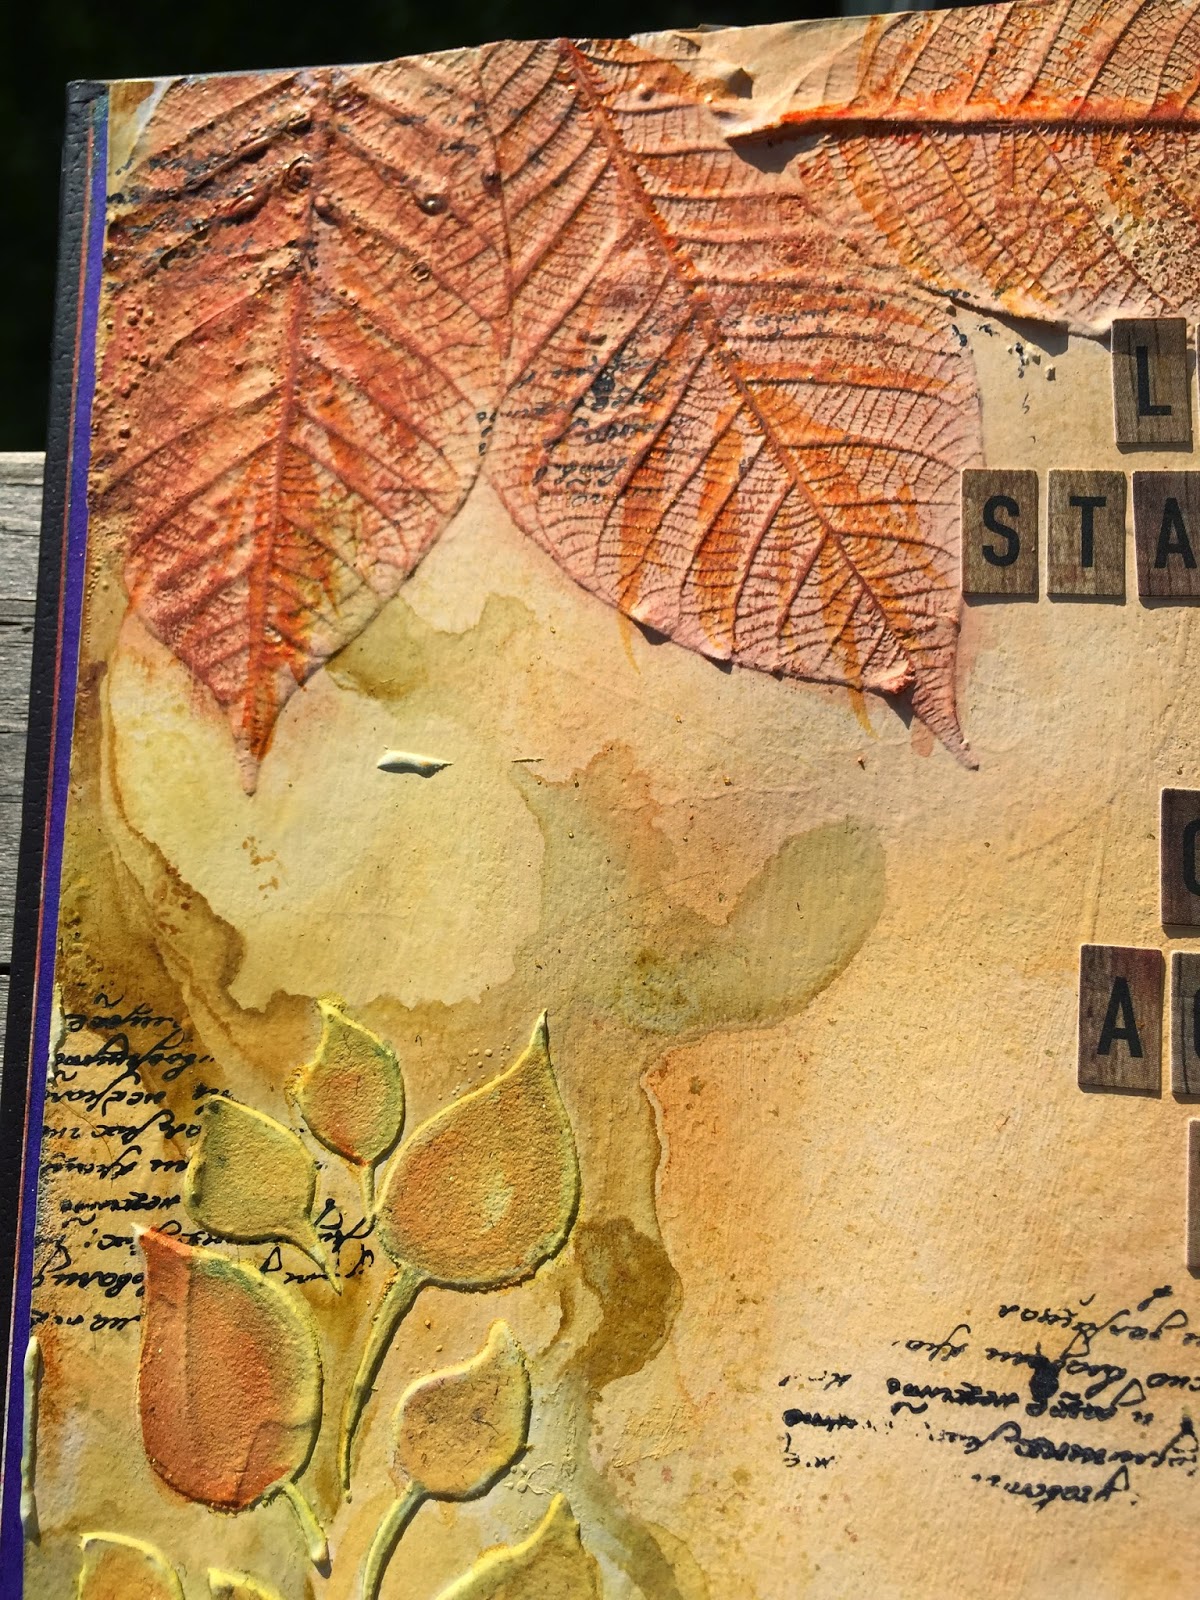
What better way to test them out than a new spread in my art journal, The new mists from Tim were used on the background, just playing with how they mix with water and react together, although I saved the Tarnished Brass to be used with a stencil.  


I love the shimmer from the metallics.  I decided to make this page about trying a few new products that have been sitting around my studio.  Mainly some new twinkling H2Os from Luminart.  I used some archival in to stamp my images and play with the new shimmers to color them in.  I also used some perfect pearls to add some dimension to the dandelions.  


I've had this stamp of this little girl in my stash for ages and haven't used it, but she fit so nicely in my garden.  I ended up stamping her on a different sheet of cardstock and fussy cutting her out. She was colored in using distress markers in Spun Sugar and Broken China.  I used  a water color brush to pick up color from my craft sheet and built up the layers to add some shading.  The wings were highlighted with Waterfall stickles and the whole image was outlined in black soot distress ink.  I give her a bit of pop I used a black gelato smudged around her.  I also went around the entire page with the same black gelato.


I just love my little garden scene, and was very exited to see experiment with the new spray inks.  Now I wont feel as bad when I order the rest of the colors available!  Thanks for looking!


Thursday, September 18, 2014

Fall is in the air

The leaves are starting to change here in Minnesota and the smells and colors are just intoxicating-I absolutely love this time of year.  During lunch last week I was catching up on one of my favorite blogs and I found this little gem on Tim Holtz's blog.  The colors, the die cut, the over all project is so beautiful and one of my scrappy lady friends mentioned she had ordered the die-and bonus she got it in time for our scrappy Saturday.  So what else can we do but re-create our own wreaths.

We pulled out a variety of stains, I used Aged Mahogany, Ripe Persimmon, Spiced Marmalade, Rusty Hinge, Scattered Straw, Crushed Olive, Peeled Paint, Forest Moss, Vintage Photo, Tea Dye along with Tarnished Brass and Antique Bronze.  I inked all the edges with Gathered Twigs Distress Ink.  You really need to layer up the ink and dry between layers to really get the vibrant colors.


I can't take credit for the design, but I did add some of my own touches.  I used a smaller wreath for my base so only using the larger leaves looked a little out of proportion, so I used a mix of the layered leaf, tattered leaves (bigz and movers and shapers) dies.


I also added a bit of burlap to the bow, it doesn't show as much as I would have liked, but I love how it is peaking out a bit!


All that is left is to figure out where to hang my new fall wreath!   Enjoy this beautiful weather friends!

Thursday, September 4, 2014

Isn't that Scraptastic!

  I was on such a role getting pages mapped out for our trip to Disney, but now I'm having more luck playing Draw Something than I am in my scraproom.

To fill the silence until I finish up one of the several projects on my table I thought I'd share with you my proudest scrappy moment to date.  Those who know me know how enamored I am with Graphic 45 paper-any and all of their paper lines are just must haves in my collection.  

I contacted Graphic 45 via their website with the suggestion of a Wizard of Oz or Gone with the Wind line way back in the day. I heard back from them but nothing more than a 'thank you for your suggestion, we appreciate your support'.  Ok, so it was a little more personal than that, but you get the idea.  A month later they spilled the beans about their newest collection, The Magic of Oz. I figured it was just a coincidence-I didn't think a paper line could be produced in such a short time.


That September I was lucky enough to take The Magic of Oz class with Diane Schultz and her daughter Aimee Filimoehala, and it was during this class I learned that it was my suggestion that lead to the creation of the line!

At the end of the class Diane presented me with this beautiful plaque that they had created for the summer CHA, I felt so honored by their gesture and now have it displayed proudly in my scraproom!  Diane was kind enough to sign it for me and she wrote a beautiful message on that back of it, just another reason to fall in love with this wonderful company!


I must say, if you ever have a chance to take a class with Graphic 45-I highly recommend it!

Saturday, August 16, 2014

Perler Bead fun

The past couple of weeks I have been working on scrapping photos from our Disney trip more and more often I have found myself wishing for a certain embellishment, those fun little enamel dots.  Not something I would normally use, but for some reason I have been loving that little extra pop of color on my Disney pages.  Not having an endless supply of enamel dots or an unlimited budget to purchase them, I turned to a project I have been wanting to do for awhile.  DIY enamel dots!  Perler beads and an oven-easy right?

I know this has been done by others before me, but I have been wanting to try this forever and what better time than when hubby is out of town and perler beads are on sale at the local craft shop.  Supplies needed: Perler beads (I got a great multi pack at Joann's), Parchment paper, oven.  I would recommend using a toaster oven, I used a little craft oven from a thrift shop I use for polymer clay, but you can use your oven if you don't have a toaster oven-I just recommend cleaning it after using it for enamel dots.

Line your baking sheet with parchment paper and line up your perler beads with the holes facing up


 Bake at 350, mine took about 20 minutes, some of the darker ones took a bit longer.


Halfway through, you can see the holes filling in.

Done!  They turned out so cute, and I love that the striped perler beads look like little beach balls.


Beautiful colors and they look so similar to the ones I have already in my stash.  So excited to try this with pony beads for a larger enamel dot.  

I don't use bright colors in my pages very often, so most of the enamels in my collection are neutrals and more darker colors, but I have been using a lot of brights lately, I love that I now can make almost any color I need!


I like the little pop of color they add to pages, and the variety of colors available make it easy to find the right color for your project.


Thanks for stopping by!

Sunday, August 3, 2014

Through fire

I've always been a huge fan of Harry Potter, I listen to the audio books at work quite often, a great way to pass the time and I can easily jump back in if I miss anything.  The other day I was listening to Chamber of Secrets and there was a quote that struck me particularly hard:

"It is our choices, Harry, that show what we truly are, far more than our abilities"~Albus Dumbledore

I've always found that quote inspiring, and I thought it would be perfect for a bit of inspiration for my room.  For those not familiar with the series, Dumbledore has a pet phoenix, a mythical creature that burst into flames when it is time to die and they are reborn from the ashes.  Once I had a starting point the rest came fairly easily.


I started by making a phoenix out of white polymer clay and painting it with acrylic paints.  I really wanted him to shimmer so I used my stash of radiant pearl paints to give him some sparkle.  Because  radiant pearls don't dry on non porous surfaces I embossed it with clear embossing powder.


The background was a lot of fun to work with, I used pages from an old copy of  Deathly Hallows adhered down with mod podge, On top of that I used modeling paste and a prima mask to give it a bit of texture.  I added some upholstery underlining spritzed with Lindy's and Dylusions, however in my hurry to dry it I found it melts with a heat gun.  And I loved it, so once I had it adhered down I zapped it with my heat tool.


Overall I'm thrilled with how this turned out and it is perfect for the Potter nerd in me!