Showing posts with label Inky Fingers. Show all posts

Saturday, January 24, 2015

Paper faces on parade

It's a masquerade!

This month's color challenge over at Lindy's Stamp Gang was another beautiful palette of color.  Purples are hard for me, mainly because I don't really have any.  But that's what I love about Lindy's, I was able to blend colors to make something work perfectly.


I had an old mask that I wanted to re-do since day one and for some reason this color palette sparked an idea that just fell into place.  

After peeling off all the old hot glue and fabric from the original mask I did a base layer of torn book pages and gel medium, this helped cover all the hot glue residue I couldn't get off.  Over that I used a Crafter's Workshop harlequin stencil and light modeling paste.  While the paste was still wet I added Lindy's embossing powder in Midnight Ruby.  I let the paste dry overnight then heat embossed the powder.


 At this stage I wasn't really a fan of where this was going, the mask didn't go on as well as I had imagined, but I kept going.  I gave the entire mask a light coat of Golden Sleigh Bells and a few spots of A Bit o'Bubbly.  Over all that I sprayed, the sadly discontinued, Cranberry Mist Burgundy.


I used the same colors on some prima leaves then inked the edges with an eggplant chalk ink.  I just used the Cranberry mist on a feather spray that I salvaged from the original mask.  The gems were also salvaged from the original mask.  The flower is a Maya Road that matched perfectly.  


This time I am much happier with how my mask turned out and have no intentions of another re-do!

Monday, December 29, 2014

All is Bright

I have always loved the Lindy's Stamp Gang monthly color challenges, but for whatever reason I found that the month would just slip away from me before I could finish anything for the challenge.  But after seeing this month's colors I knew I had to find time for it.  It is just such a happy combination.  I have been waiting for a sunny day to come around to get the best photos, but unfortunately we haven't seen the sun here in the last 15 days and I'm running out of December to get these up.

I used Rudolph's Nose Red, Hydrangea Blue, Delphinium Turquoise and a moon glow starburst spray, Wild Honeysuckle from ages ago, it has one of the original labels on it.  


I used some of my favorite Christmas wash tapes to create a collage after spritzing my background, and a vellum tag for the title.  I just loved the subtlety of the snowflakes and how they added a little texture to the page.


Keep your fingers crossed we get some sunshine here so I can get a better photo..eww!


Thursday, November 20, 2014

Live Life Dancing Through the Rain

Last week we had the most amazing rainstorm here, and I just love being outside in the rain.  Well most rains.  This was the last rain of before temperatures dropped and we got our first 6 inches of snow.  It was so peaceful watching it rain from my studio window.  It also reminded me of a phrase I read on a piece of patterned paper from My Minds Eye, so with all that inspiration I pulled out my art journal and got started.

I realized while I was working on my background that I didn't have any mists that were the right shade of blue for the whole page so I used my gelatos and a baby wipe.  I did spray first using a darker blue but the baby wipe blended a lot of the drops with the gelatos.

The figure is a stenciled image done in black acrylic paint-I don't actually own this stencil, I borrowed it at a friends house and used it a few times on a piece of vellum.  I fussy cut this one out for my journal.  It was adhered down with softgel and then outlined using a white signo pen.  


I used homemade texture paste but before I removed the stencil I spritzed with Mister Huey's in Seafoam.  


I stamped with bubble wrap and gesso before splattering the whole page with watered down silver acrylic paint.  I pulled out my rusty cursive for the title and highlighted that with a glitter pen. 

The perfect rainy day project!     

Wednesday, October 8, 2014

In the fall

"Life starts all over again when it gets crisp in the fall"~ F Scott Fitzgerald

I'm not one to spend much time reading magazines, but I was flipping through a copy of Glamour at the hospital last week and I came across this quote from F Scott Fitzgerald, and I fell in love with it.  There wasn't much that was able to take my mind off of where we were, so I spent time imagining how I would use this quote.  I tried envisioning on layouts, or maybe a card, but in the end I decided on a spread in my art journal. I have to admit I'm addicted!


The background was covered in distress stains in various colors and then misted with a combination of sprays, mainly Lindy's Stamp Gang.  

Before I created the background layer though, I adhered a few skeleton leaves down using mod podge and gave the whole substrate two coats of gesso.  I also stamped the text in black archival ink before colors were layered on.  I'm not a huge fan of how the stamping turned out, I think I'd have rather used torn pages from a book.  

I used a Dylusions mask and some homemade modeling paste to create the vines and then colored over them with Lindy's Magicals, Distress Markets and Luminart paints.  The skeleton leaves also had some layers of magicals and luminart added for some shimmer.


The leaf is a leftover from the wreath I made, I had a big empty spot and thought it might fill the space nicely.  Before I adhered the leaf down I stamped with a piece of craft foam that had been heated and pressed into a leaf embossing folder.  I stamped with distress ink and clear embossed it for texture.  Once the leaf was adhered down with soft gel I went around the edges with Inkagold in bronze.

Here is the full spread again, I just love how turned out, even with the stamping! 


Keep an eye out for two new journal pages coming up over the next week-until then thanks for stopping by!

Tuesday, September 30, 2014

New toys!

As many may already know Tim Holtz recently announced his new spray inks that are making their way into stores now, and in true Tim fashion he had a giveaway, which was just a bonus-I was just thrilled that he had sprays coming out.  I love sprays and I love the distress line, which makes distress sprays an absolute must have for my collection.  Of course I had to leave a comment and test much luck, but more so express my excitement.  Imagine my surprise when I found my name on the list of winners!


A week later here comes a lovely package from Mario with four shinny new spray inks!  The packaging even had a little bonus inside.  


Love the tissue wrap and scattering of number tokens!  At this point it was all I could do to keep from tearing apart, but I wanted to keep the tissue paper for a future project.


A few of my absolute favorite colors, Tarnished Brass, Peacock Feathers, Crushed Olive and Rusty Hinge~Bless you Mario!!!

What better way to test them out than a new spread in my art journal, The new mists from Tim were used on the background, just playing with how they mix with water and react together, although I saved the Tarnished Brass to be used with a stencil.  


I love the shimmer from the metallics.  I decided to make this page about trying a few new products that have been sitting around my studio.  Mainly some new twinkling H2Os from Luminart.  I used some archival in to stamp my images and play with the new shimmers to color them in.  I also used some perfect pearls to add some dimension to the dandelions.  


I've had this stamp of this little girl in my stash for ages and haven't used it, but she fit so nicely in my garden.  I ended up stamping her on a different sheet of cardstock and fussy cutting her out. She was colored in using distress markers in Spun Sugar and Broken China.  I used  a water color brush to pick up color from my craft sheet and built up the layers to add some shading.  The wings were highlighted with Waterfall stickles and the whole image was outlined in black soot distress ink.  I give her a bit of pop I used a black gelato smudged around her.  I also went around the entire page with the same black gelato.


I just love my little garden scene, and was very exited to see experiment with the new spray inks.  Now I wont feel as bad when I order the rest of the colors available!  Thanks for looking!


Thursday, September 18, 2014

Fall is in the air

The leaves are starting to change here in Minnesota and the smells and colors are just intoxicating-I absolutely love this time of year.  During lunch last week I was catching up on one of my favorite blogs and I found this little gem on Tim Holtz's blog.  The colors, the die cut, the over all project is so beautiful and one of my scrappy lady friends mentioned she had ordered the die-and bonus she got it in time for our scrappy Saturday.  So what else can we do but re-create our own wreaths.

We pulled out a variety of stains, I used Aged Mahogany, Ripe Persimmon, Spiced Marmalade, Rusty Hinge, Scattered Straw, Crushed Olive, Peeled Paint, Forest Moss, Vintage Photo, Tea Dye along with Tarnished Brass and Antique Bronze.  I inked all the edges with Gathered Twigs Distress Ink.  You really need to layer up the ink and dry between layers to really get the vibrant colors.


I can't take credit for the design, but I did add some of my own touches.  I used a smaller wreath for my base so only using the larger leaves looked a little out of proportion, so I used a mix of the layered leaf, tattered leaves (bigz and movers and shapers) dies.


I also added a bit of burlap to the bow, it doesn't show as much as I would have liked, but I love how it is peaking out a bit!


All that is left is to figure out where to hang my new fall wreath!   Enjoy this beautiful weather friends!

Sunday, August 3, 2014

Through fire

I've always been a huge fan of Harry Potter, I listen to the audio books at work quite often, a great way to pass the time and I can easily jump back in if I miss anything.  The other day I was listening to Chamber of Secrets and there was a quote that struck me particularly hard:

"It is our choices, Harry, that show what we truly are, far more than our abilities"~Albus Dumbledore

I've always found that quote inspiring, and I thought it would be perfect for a bit of inspiration for my room.  For those not familiar with the series, Dumbledore has a pet phoenix, a mythical creature that burst into flames when it is time to die and they are reborn from the ashes.  Once I had a starting point the rest came fairly easily.


I started by making a phoenix out of white polymer clay and painting it with acrylic paints.  I really wanted him to shimmer so I used my stash of radiant pearl paints to give him some sparkle.  Because  radiant pearls don't dry on non porous surfaces I embossed it with clear embossing powder.


The background was a lot of fun to work with, I used pages from an old copy of  Deathly Hallows adhered down with mod podge, On top of that I used modeling paste and a prima mask to give it a bit of texture.  I added some upholstery underlining spritzed with Lindy's and Dylusions, however in my hurry to dry it I found it melts with a heat gun.  And I loved it, so once I had it adhered down I zapped it with my heat tool.


Overall I'm thrilled with how this turned out and it is perfect for the Potter nerd in me!


Thursday, July 24, 2014

Just popping in!

Where on earth has the year gone?  I can't believe July is almost over, softball season is wrapping up which means we're starting to get geared up for the Minnesota Renaissance Festival!  Between rehearsals, promotional parades and getting costumes cleaned up we're definitely keeping busy.  But I'm still making time for getting my ink on.  

Today I just wanted to share a card I made for my dad, he's a big outdoor guy and I couldn't resist the chance of using these beautiful dies from Taylored Expressions!  I've also been playing around with my adirondack ink pads and brayer, they are so much fun to layer and mask with, I love the effect of the background against the black silhouettes of the trees and deer.  Definitely going to be remembering this technique for future projects!


Thanks for stopping by!  

Monday, April 14, 2014

I believe

Happy Monday!  I wanted to share a little project I've been working on lately, I have been wanting to do an altered canvas for ages and when I came across this little 5x7 canvas while cleaning my room I obviously stopped cleaning and started playing!

The original idea I had included masking and modeling paste only to discover my modeling paste was all but dried out!  So instead I pulled out my palette knife and spread some of the drying paste over my blank canvas for some texture.

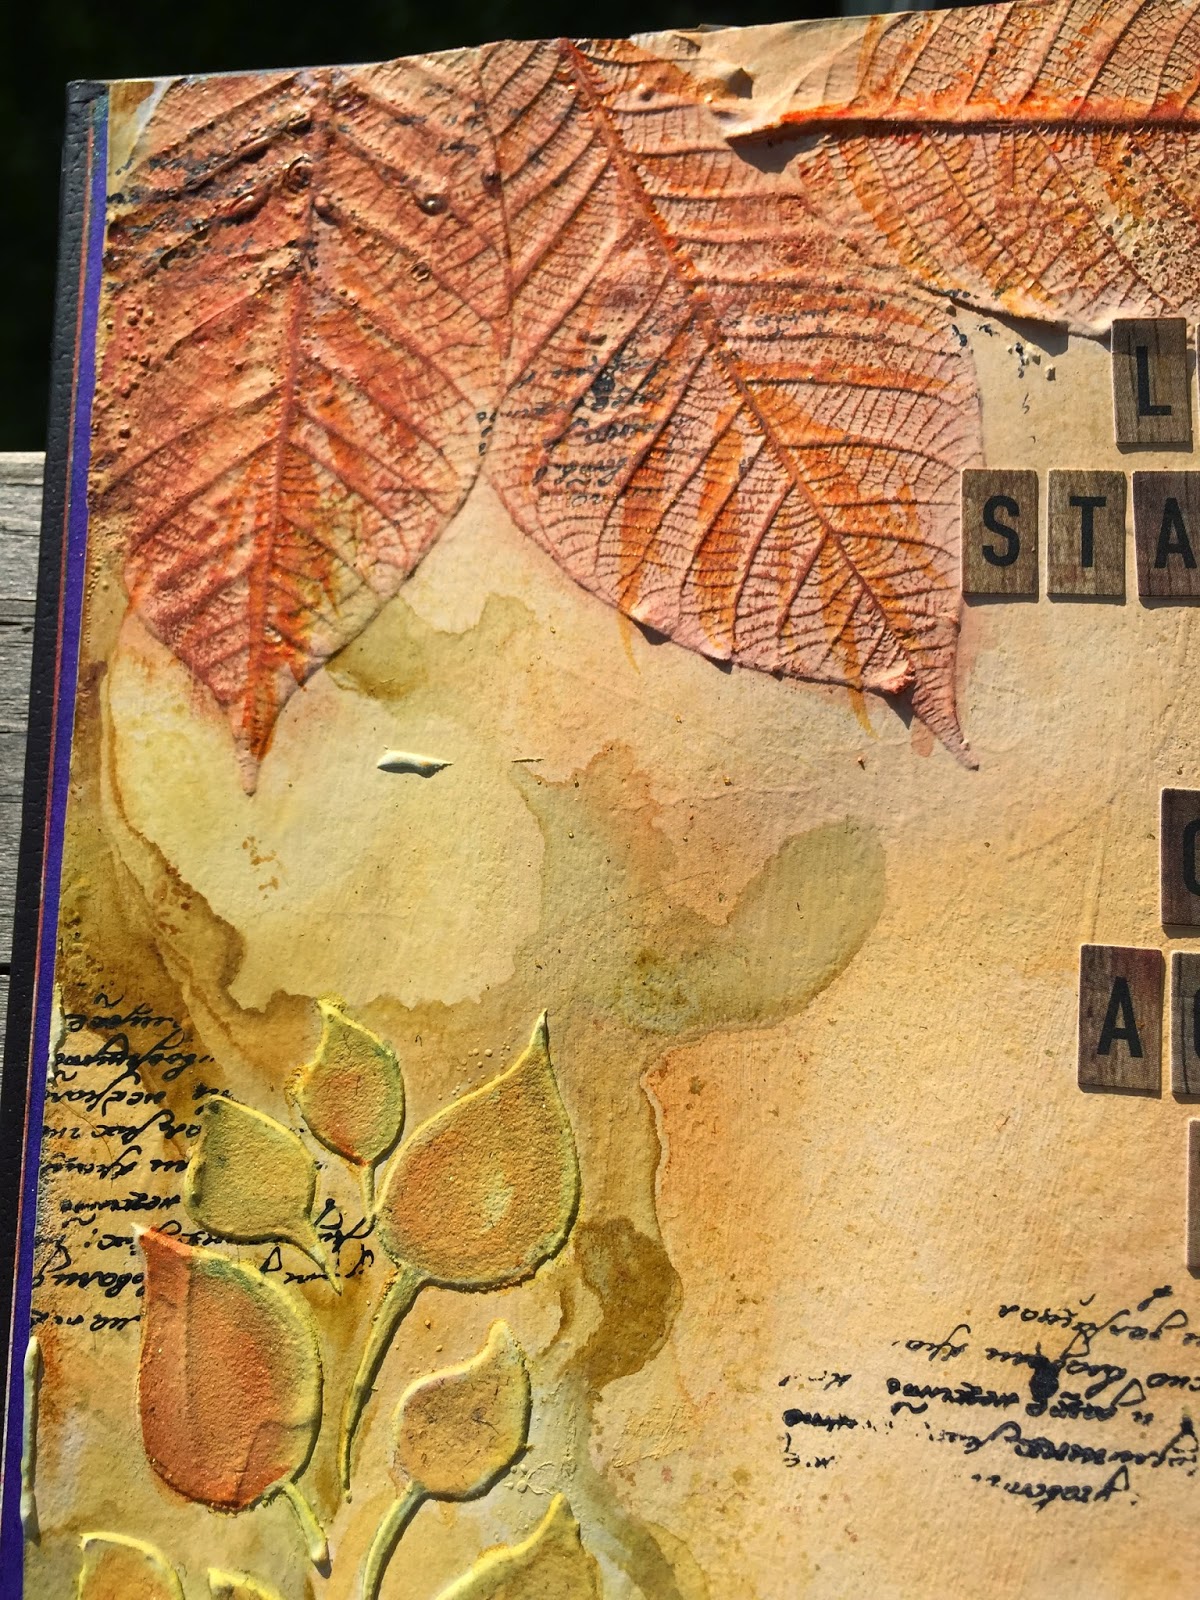
I hadn't really settled on a theme yet so color schemes were a bit up in the air but in the end I opted for my fall back, golds, greens and blues.  I raided my tattered angels stash and used Medallion, Kiwi, Caper Green and Verdigris glimmer mists across the entire canvas, tilting it around to cause running and pools.  I let those sit and dry up before, repeating until I was happy, then I went around the edges with Dirty Martini glimmer glam.  

 To frame it a bit more I used a dark green faber castell gelato and used my finger to blend it in.  To add a bit more texture and add some shimmer I mixed some gold pigment powder into soft gel and used it over a damask stencil from Prima.  I really wanted to give it a shimmer so once the soft gel was mostly dry I used some dry pigment powder and rubbed it onto the soft gel.

To lighten it up a bit I went back over with my favorite bubble wrap and some white acrylic paint.  


I was so excited about how this was turning out that I really started worrying about, as my husband puts it, how I was 'going to land this bird safely'. Which in a round about way helped me come up with a theme.

I broke into our tissue paper stash looking for a nice 'earthy' tissue to use and found the tissue that came in the box for my husband's Keens and inked it up with the tree stencil from The Crafter's Workshop.


The texture and thickness of the tissue was perfect, and if you look closely you can still see the Keen logo from the backside.  But this became a cute little dress but I wasn't sure how to get this onto my canvas, was it hanging, being worn-end the end I decided it should be on a dress form.


I used the Tim Holtz movers and shapers dress form and the wings from his Heart Wings die on chipboard.  I was only interested in the top and bottom of the dress form since the dress would cover up the rest of it.


The dress form pieces were embossed using vintage photo embossing powder and inked over with black soot to give it the aged look and the wings were dabbed with gold acrylic to add some texture.  I used teal and green perfect pearls to pounce on some shimmer and edged them in Viva's Inka Gold Graphite.

I finished it up with a few leaves from a Prima vine and an embossed metal butterfly from Graphic 45 and I was able to sit back and let it take flight!


Do you believe?

Sunday, April 6, 2014

Back with a splash!!!

And a spritz...

Some of you may know that my beloved Archiver's closed its doors on February 15th.  And while it has been very sad that it is no more, I am grateful for the experience, along with all the forever friends and crafty knowledge I have gained from this wonderful place.


On the bright side I have free time again!  Which means I have finally been catching up on all of those projects piling up in my craft cave.

One of the biggest perks to not running from one job to another has been getting to try all those new products I obtained from Archiver's.  Like the new(ish) Naturally Aged paint systems from Tattered Angels.  I had played around a bit with them prior to this, but only in demos and have been sitting on several sets now since they came out.

The one I was most anxious to use was the Weathered Copper set, gorgeous!  I have a couple of projects to share all using this set.  

The first is a page I've been sitting on a for quite a while.  The papers are from the Kaiser Craft's Miss Empire line, I fell in love with the colors and the designs and the print is one of my favorite art nouveau prints.  

I had the photo mat done first and a rough idea of how I wanted the final page to look like, but I just couldn't get it to the next level.  In the end I did some splatter painting with turquoise paint and some drops of coconut glimmer glaze just to give it some color.  

As I was playing with the Weathered copper tattered angels set it hit me that this was exactly what I wanted on my page.  The circle frame I used on the page is a pressed paper frame from Heidi Swapp and it was perfect for the glimmer mists.  A couple of feathers tucked behind and I was finally happy calling it done!


After finishing spritzing my frame I had a lot of left over color on my craft sheet.  Normally I keep a mop up tag so I wont waste any color, but because of how the colors are layered I wasn't sure how well they would look when I cleaned them up with my tag.  However, I almost love the end result on my tags more than I did on my actual attempt! 


Watch for more details and photos about this tag, and a tutorial on how I did the bird using some other fun new products I've only just started playing around with!